
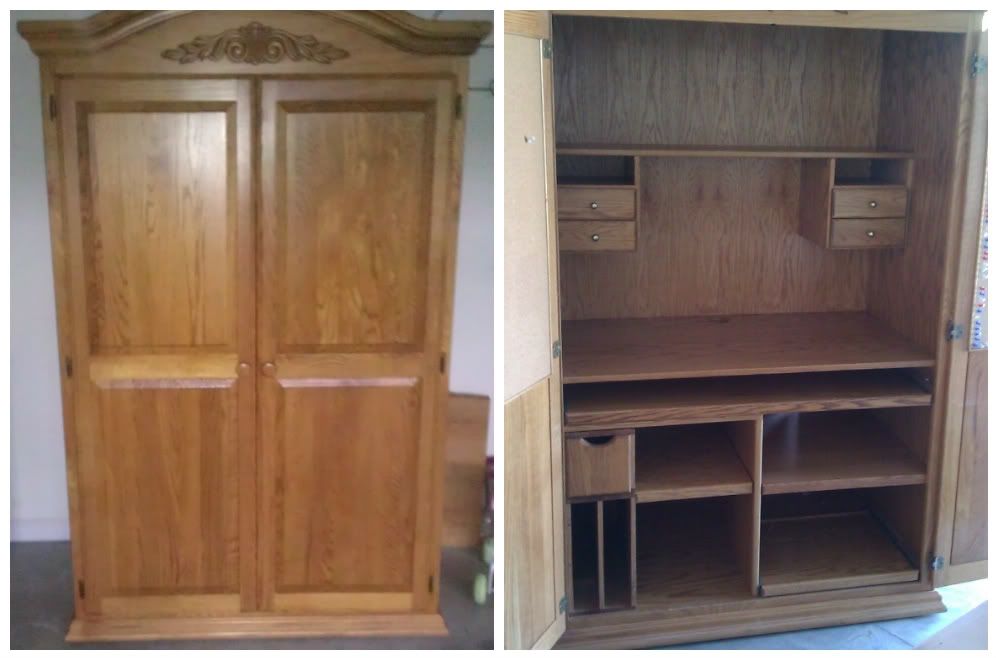
It is HUGE though and it was going to be a big project on top of what I already have him doing so we decided to part ways with it and buy this dresser. Man oh man I tried so hard to snatch up a $30-$40 one on craigslist, but alas....it was not to be. I snagged this one for $40 (down from $50 after I haggled for the first time EVER).

I felt like it had a lot of character. I knew I wanted a piece with doors like that or with little drawers for such things as little bitty socks, etc. I offered to sand it for my dear husband because I figured you couldn't really mess that up. Once I started sanding that baby I fell in-love with it all over again! The wood was beautiful!!!! It was hard to think of painting it truth be told. I asked one of my besties who is really good at this sort of thing exactly how to go about painting it and I also did some research online. I ended up following this blog's instructions with hopes that the wood grain would show through.
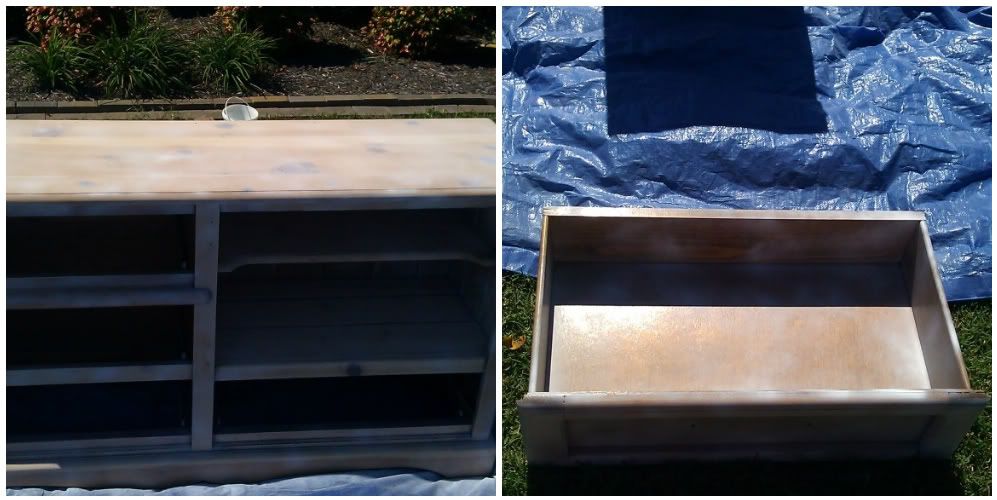
So I sanded, sanded, and sanded some more. I used a little sander with 80 sandpaper and this is what I got. I didn't care too much about the drawers...I cared way more about the top and sides.

Then I got started with the primer. I bought one can....I would recommend 2. I have no patience so I went ahead and got started. I got 3-4 coats on top though and went heavy with 2 coats on the drawers (but they definitely could have used more). Oh, and I would recommend a mask or something because I was not digging that fumes from the spray paint. This is what I got.
Then I started with the paint. I was all gung ho about the 5 coats of thin paint is better than 1 thick....until I felt like I was going to loose my mind after 2 coats. The top got 4 and so did the inside of the drawers, but everything else got 3. I didn't feel like using multiple brushes so I just used one big one. Needless to say with all the curves and crooks there are some spots I need to take a small brush to for some touch ups. I ordered new knobs (at an AWESOME price from here and bought some new hinges at Home Depot....but they don't let the doors close all the way so they're going back and getting exchanged for some that do. I WAS going to put some super cute contact paper in the bottom of the drawers but I am loving the clean look for now. I made some mistakes.....I forgot about filling in the holes on top where some weird piece of random wood was screwed down AND I figured the knobs would cover everything from the old hardware but it didn't. Oh well! It was the first piece of furniture I have every done this too and I am loving it!!!!! So I will file this is the anyone can do it category. I have a couple of things in there (like running a marathon). I think that if you honestly WANT to you can:) Was it harder than I thought? YES! I didn't think it would be easy, but it was 5 hours of priming and painting alone....that's not fun at 7 months preggo. Will I do it again? Ummmm....probs not. Next time dear sweet hubby says he'll do it I'll say "OKAY" and go inside and bake him some these cookies that he loves so much and tell him thank you. I am happy I did it though:)
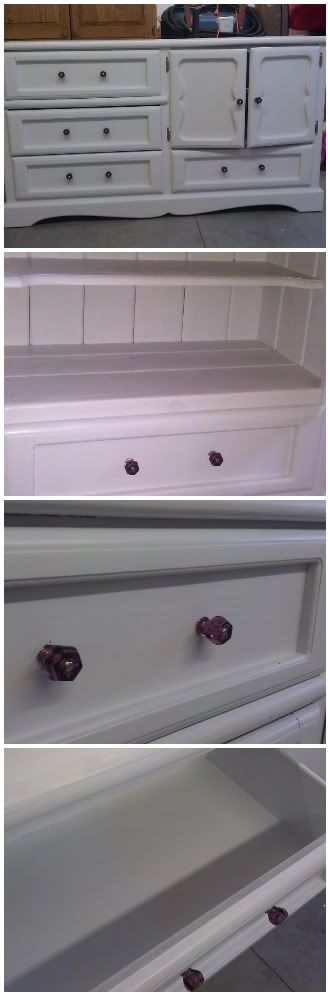
ETA: The dresser came from a thrift store....forgot that part and the wood grain DOES show through on the top:) YAY!!
We sell hinges at www.dlawlesshardware.com too!
ReplyDeleteThanks for the link! Knobs look great!